Timber Treatment Grades Explained
What you need to know.
What is the difference between H3 and H4 Timber?
Timber treatment grades sound technical - but trust us, they matter.
Pick the wrong one, and you could end up with rotting deck boards or insect-infested framing. Pick the right one, and your build stands strong for decades.
So, let’s cut through the fluff and talk about what those H numbers on your timber really mean, especially H1.2 and H3.2, which are the most common grades you’ll find in New Zealand building projects.
What Does “H” Mean in Timber?
The H stands for hazard class, and it’s all about the conditions your timber is going to face. Moisture, insects, fungal decay. The nastier the environment, the higher the H number you’ll need.
Each treatment level reflects how deep the protective chemicals go into the wood, and what they’re protecting it from. The system here in NZ runs from H1 to H6:
| Grade | Use Case | Environment | Common Applications |
|---|---|---|---|
| H1.2 | Indoors only | Dry, low-moisture | Framing, subfloors |
| H3.2 | Outdoor above-ground | Exposed to weather | Decking, fencing, pergolas |
| H4 | Ground contact | Damp soil | Fence posts, retaining walls |
| H5 | Ground contact with high decay risk | Freshwater, in ground | Structural retaining, piles |
| H6 | Marine | Saltwater & borers | Jetties, piers |
Handling Treated Timber Safely.
Just because it’s treated doesn’t mean it’s hands-off. Always:
- 🧤 Wear gloves
- 😷 Use a dust mask when cutting
- 🌬️ Work in well-ventilated areas
- 🎨 Reseal all cut ends with appropriate timber end sealer
- 🗑️ Dispose of offcuts responsibly – never burn treated timber
Not sure what grade you need?
We’ll help you match the right treatment to your build, whether it’s a humble garden box or a monster retaining wall.
Understanding Each Hazard Level
H1.2 Treated Timber - For Inside Jobs Only
Best used for:
- Interior wall framing
- Floor joists/subflooring (above ground)
- Furniture or non-load-bearing indoor builds
What it protects against:
Insects like termites and borers. Basically, anything that likes to munch on dry wood. But it’s not weatherproof.
What’s in it:
Usually treated with boron-based preservatives, which are effective but low-toxicity. Great for dry areas inside the home, not so great if there's moisture involved.
Key rule:
Keep it dry. Use it outside and you’ll be replacing it faster than you can say “leaky home.”
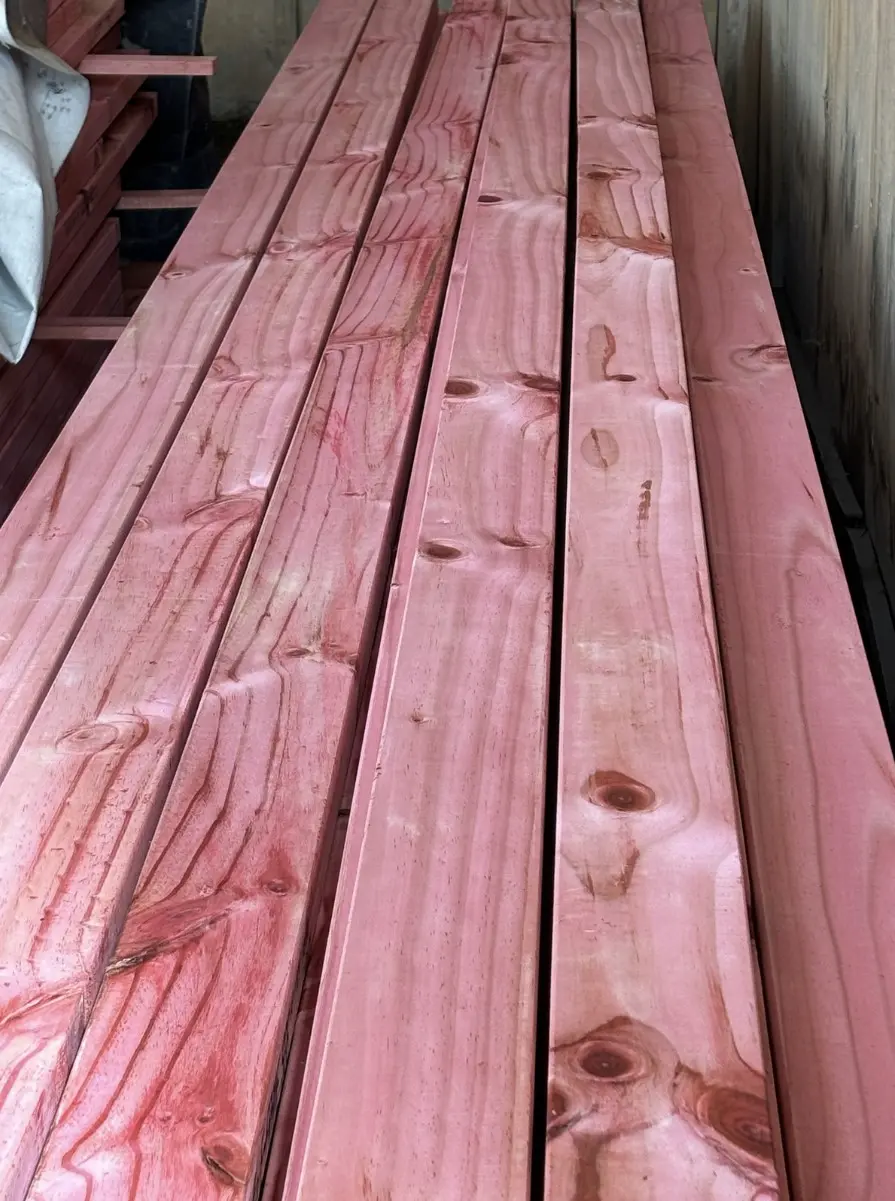
H3.2 Treated Timber - For the Outdoors (above ground)
Best used for:
- Decks and decking frames (above ground)
- Pergolas
- Fascia and barge boards
- Weatherboards and exterior trims
What it protects against:
Rain, rot, fungi, and insects. It’s designed to handle the occasional drenching - but not direct contact with the soil.
What’s in it:
Treated with copper-based preservatives like Micronized Copper Azole (MCA) or Alkaline Copper Quaternary (ACQ). These get pressure-pumped deep into the timber so it stays tough for the long haul.
Key rule:
Don’t bury it. For timber touching the ground, move up to H4 or H5.

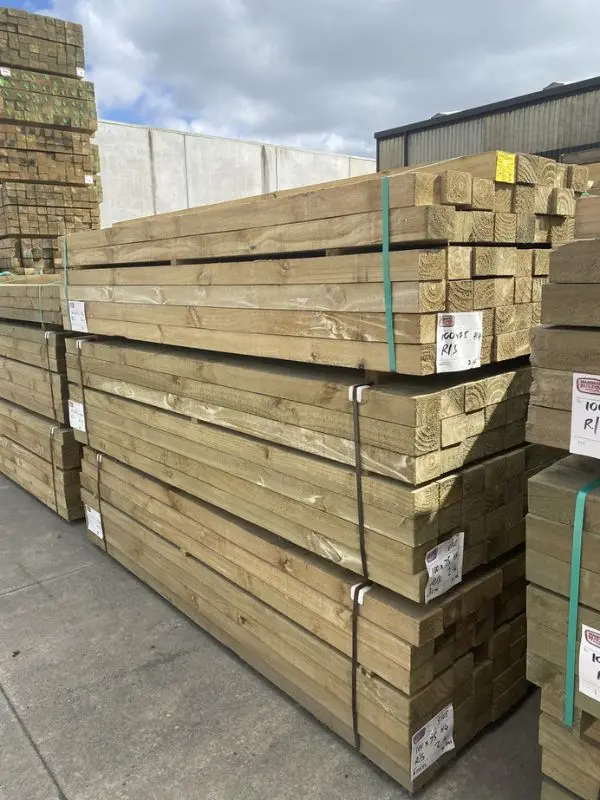
H4 Treated Timber - Ground Contact Rated
Best used for:
-
Fence posts
-
Landscaping sleepers
-
Retaining walls
What it protects against:
Insects like termites and borers — basically, anything that likes to munch on dry wood. But it’s not weatherproof. Along with soil contact
What’s in it:
Treated with higher concentration of copper-based preservatives like Micronized Copper Azole (MCA) or Alkaline Copper Quaternary (ACQ). These get pressure-pumped deep into the timber so it stays tough for the long haul.
Key rule:
If you are sticking it in the ground, it is still recommended to support with a couple of bags of concrete.
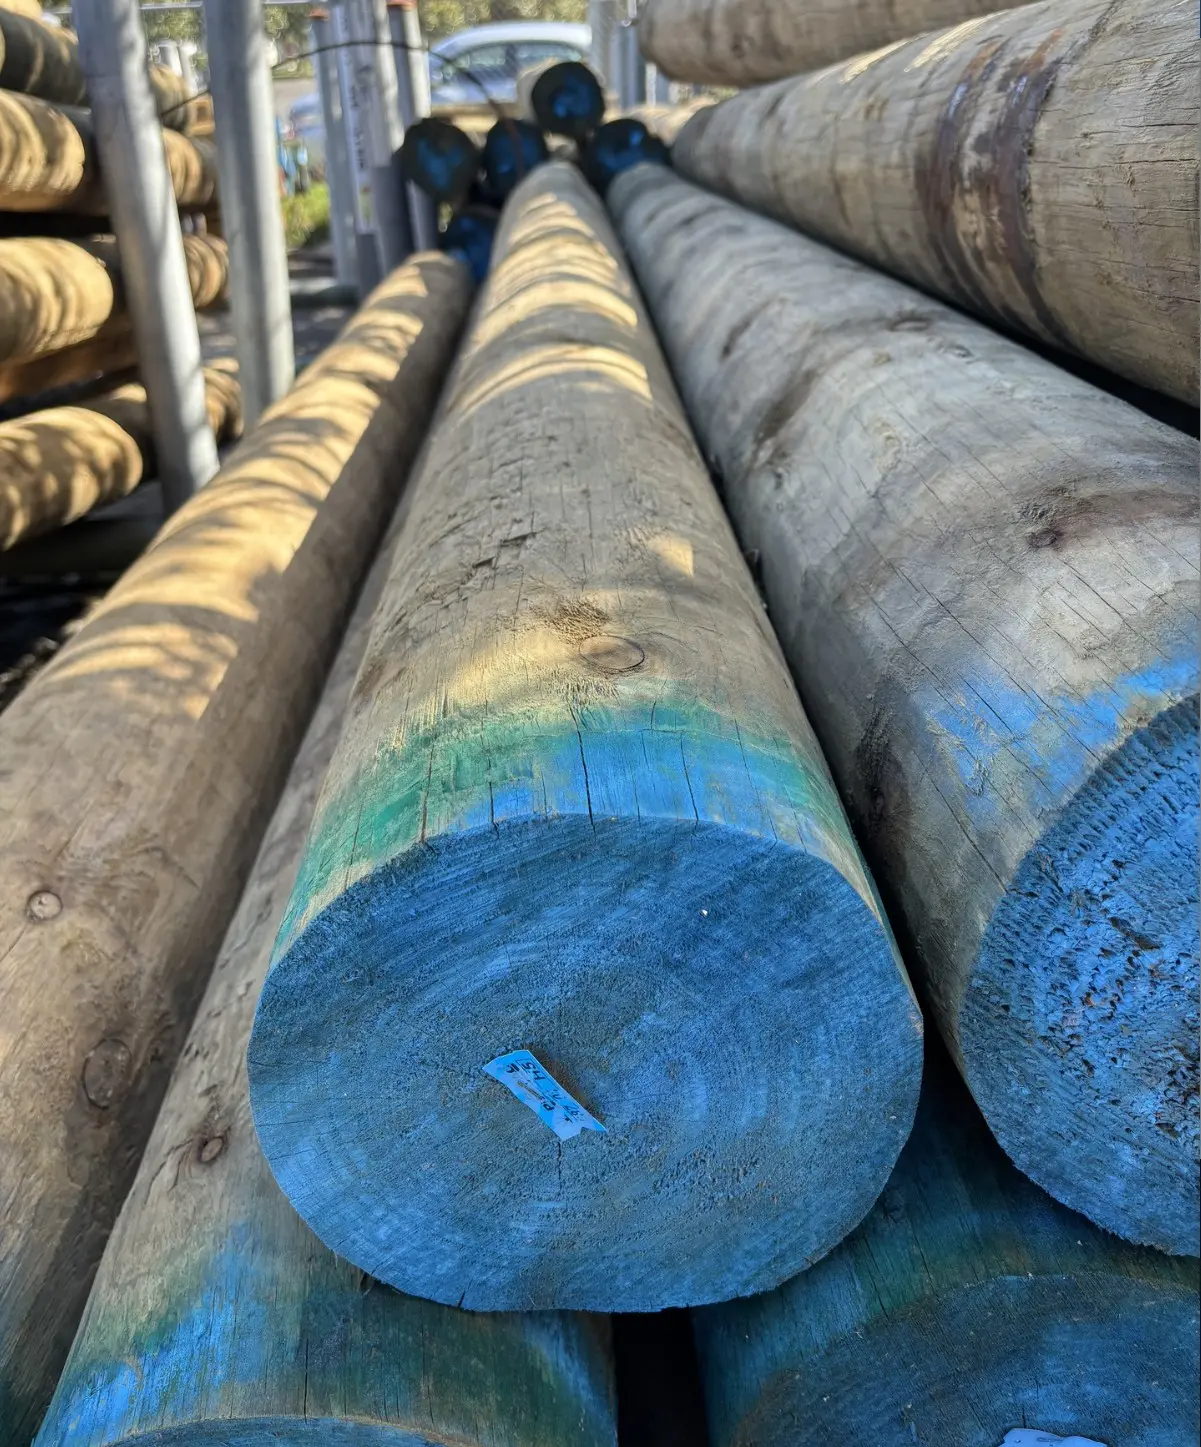
H5 & H6 Treated Timber - Harshest Environments
H5:
Suited for foundation work, pole housing, and situations where the timber is structural and buried.
- Freshwater or high-risk ground contact
- Uses: House piles, retaining walls near water
- Strong resistance to fungal decay and moisture
H6:
The marine beast. Handles saltwater, marine borers, and intense moisture. Think jetties, sea walls, and wharf piles.
- Saltwater marine
- Uses: Jetties, wharfs, saltwater pylons
- Formulated to combat marine borers and saltwater rot
If you’re touching water, you’re in H5/H6 territory. Do not cheap out here as replacement gets expensive.
"Use the wrong treatment and your deck might last 5 years. Use the right one, and you’ll be BBQing on it in 30."
– The WBS Team
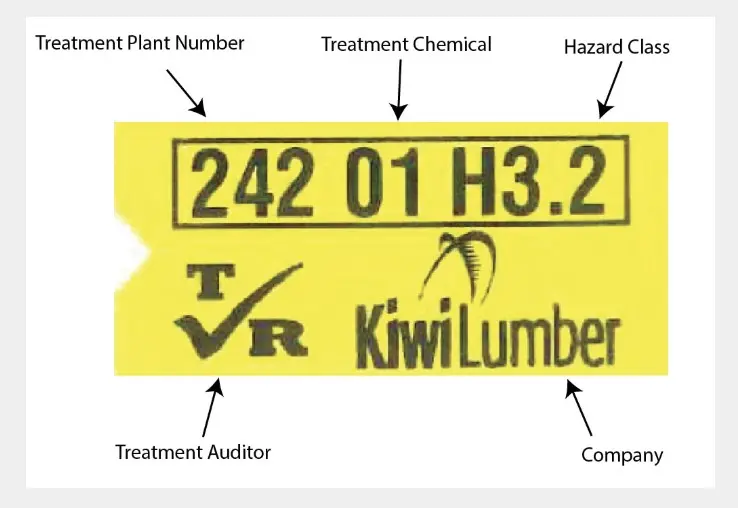
How to Read Timber Treatment Markings
Every piece of treated timber sold in New Zealand is required to display key information about its treatment - but if you don't know what you're looking at, it might just look like a jumble of letters and numbers. Here's how to make sense of it, so you can be sure you're using the right timber for the job.
Look for a stamp or tag on the end grain or sometimes along the face of the timber. It usually includes three things:
🔸 1. Treatment Grade (H-Class)
This tells you what level of environmental protection the timber has.
- H1.2 – For dry interior use only (framing, subfloors, etc.)
- H3.2 – For exterior use above ground (fencing rails, pergolas, decking)
- H4, H5, H6 – For timber in ground or water contact (posts, retaining walls, marine use)
The higher the number, the harsher the environment it’s designed to withstand.
🔸 2. Preservative Type (Chemical Treatment)
This shows what chemical system was used to protect the wood. Common types include:
- 01 – Copper chrome arsenate oxide
- 02 – Copper chrome arsenate salt
- 58 – CuAz (copper azole)
- 90 – ACQ (ammoniacal/alkaline copper quarternary)
- 11 – Boron (radiata pine)
Knowing the preservative type matters, especially if you plan to paint, stain, or use it near edibles like veggie beds.
🔸 3. Retention Level
This is the amount of preservative held inside the timber, usually expressed as a percentage or in kg/m³.
It directly affects how durable and long-lasting the timber is in certain conditions. For example:
- H3.2 treated timber may have a retention level of 0.4–0.6% MCA
- H5 treated timber might go up to 0.8% or higher of CCA or equivalent
Builders and inspectors will often check this to ensure compliance with NZ building codes, especially for structural jobs or where consents are involved.
Cutting Treated Timber? Don’t Skip This Step
When you cut through treated timber, you expose the inner core, and that section hasn’t been treated like the outside has. The preservative chemicals used in pressure treatment don’t always penetrate all the way to the centre, especially in denser hardwoods or larger profiles. That exposed end grain is vulnerable to moisture, decay, and insects of which which can sneak in and undo all the protection the treatment was meant to provide.
That’s why re-sealing the ends is non-negotiable.
Use a purpose-made end-grain sealer or brush-on timber preservative immediately after cutting. It's quick, just brush it on like paint. This extra layer soaks into the exposed grain and restores the moisture barrier, preventing rot from creeping in at the most vulnerable point of your timber.
💡 Pro tip: If you're building a deck, pergola, or fence, treat your cuts on the spot before fixing the timber in place. It's easier, cleaner, and ensures the timber is sealed before any weather gets to it.
This small step can add years to the life of your project and save you money (and headaches) down the line.
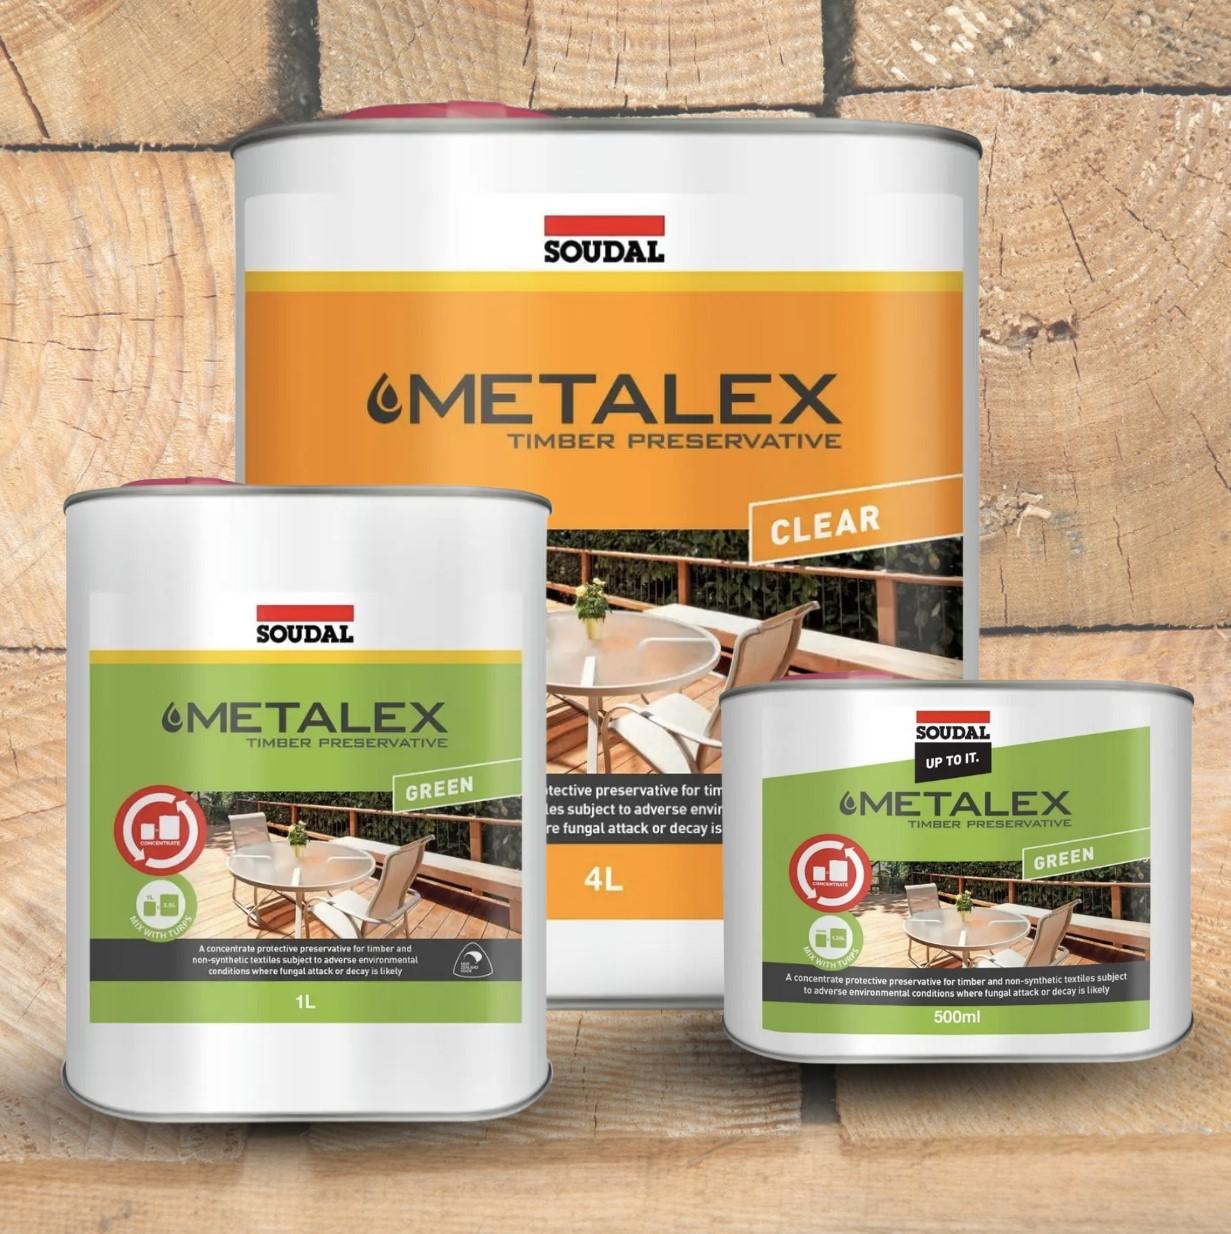
Metalex Timber Preservative
Available in either Green or Clear in 500ml, 1ltr or 4ltr concentrations
Metalex Concentrated Timber Preservative is a high-performance treatment designed for the envelope and remedial protection of fibrous products like timber, canvas, and burlap
It provides a tough barrier against harsh environmental conditions that can cause decay, warping, insect attack, and fungal growth.
This easy-to-apply preservative is water resistant and available in clear or green, making it ideal for a range of outdoor timber applications where durability and long-term protection are essential.
Conclusion: Get the Right Treatment, Get the Right Results
Choosing the right treated timber is one of those things that sounds boring - until you get it wrong. H1.2 and H3.2 are the most commonly used grades for good reason. One’s for dry, protected indoor use. The other’s for wet, outdoor use (above ground).
Get it right the first time, and your project will stand the test of time with less maintenance, fewer issues, and way less swearing down the track.
Key Takeaways
✔ H1.2 = Interior use. Dry conditions. Protects against insects.
✔ H3.2 = Exterior above-ground. Handles rain, decay, insects.
✔ Cut ends must be sealed to keep protection intact.
✔ Never burn treated timber. It’s toxic when combusted.
✔ If it touches the ground or is submerged, go higher (H4–H6).
Address:
32 Henderson Valley Rd
Henderson
Auckland, 0612
Henderson
Auckland, 0612
Frequently asked questions
Here are some common questions concerning the different timber treatments
H1.2 is for dry, internal use only. H3.2 is for exterior timber that gets wet, but not buried or touching soil.
Absolutely. It uses low-toxicity boron treatments safe for interior framing. Just do not use outside as it will rot. It’s not designed for moisture or UV exposure.
Yes. As long as the joists stay above ground and drain properly. It would still need to be structural graded timber, such as SG8.
No, Definitely not. You need to use H4 or above for anything that will be buried or in contact with soil. And preferably set within concrete.
Check the stamp or tag on the end of the timber as it will show the treatment type and grade
Yes - especially for anything outside. Cutting timber exposes untreated core. Always reseal cuts with an end-grain sealer or brush-on preservative.